


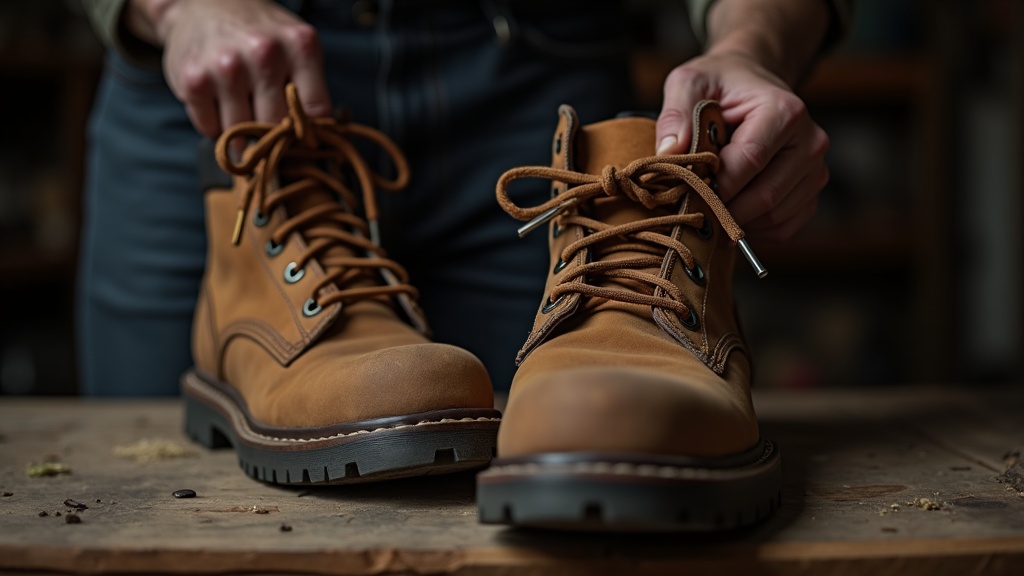
Your new boots cost good money. The last thing you need is to spend the first two weeks limping around the job like you stepped on a nail. Blisters from new work boots are common, but most of them are preventable if you know what to do before you ever put the boot on.
This is what actually works on the ground, not in a lab. Whether you're breaking in a pair of stiff leather loggers or a new composite-toe boot for the warehouse, these tips apply to you.
Key points at a glance
- New boots blister you because the leather hasn't conformed to your foot yet, not because something is wrong with the boot.
- The back of the heel is the single most common blister zone, and it's the easiest to protect with tape or moleskin before the shift starts.
- Sock choice matters as much as any product you put on your skin. Moisture-wicking, padded heels, no cotton.
- A gradual break-in schedule spread over one to two weeks prevents most of the damage without babying the boots.
- If blisters keep coming back after two weeks, the boot doesn't fit. That's the real problem.
What this guide gets you
Why New Work Boots Cause Blisters (And Why It's Not Just You)
A blister forms when two surfaces rub against each other repeatedly. Your skin, and the upper layers of it, separate and fluid pools in between. New boots are stiff, and stiff materials don't move with your foot. They move against it.
Leather is the biggest culprit. Full-grain leather can take 40 to 80 hours of wear before it truly conforms to the shape of your foot. Until it does, it behaves like a rigid shell with sharp edges, particularly around the heel collar, the tongue, and the flex point across the ball of your foot.
Synthetic uppers break in faster, but they also have seams and reinforced panels that can dig in just as badly in the first few weeks.
Should You Expect Blisters from New Boots, or Is Something Wrong?
Some minor hotspots in the first few days are normal. A small amount of friction while leather molds to your foot is just part of the process.
What's not normal: deep, painful blisters on day one, blisters on the tops of your toes, or blisters that never stop coming after two full weeks. Those are fit problems, not break-in problems.
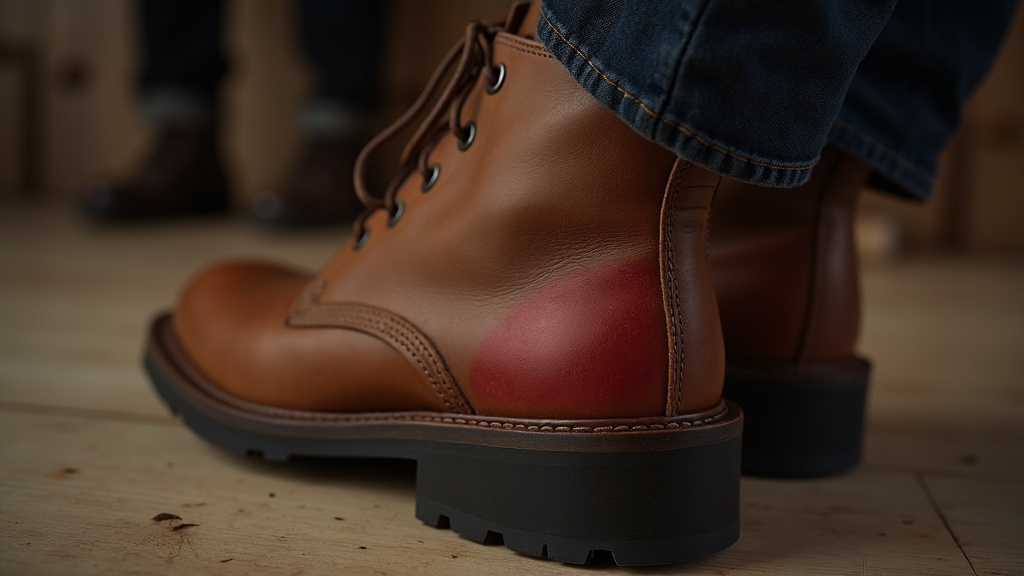
If the boots are causing blisters on the back of the heel specifically, that usually means one of two things: the heel counter is too stiff for your heel width, or the boot is slightly too long and your foot is sliding back on every step.
Before Your First Shift: What to Do with New Boots the Night Before
Don't put on brand-new boots cold the morning of a long shift. That's the fastest route to a raw heel by noon.
Prep steps that make a real difference
- Condition the leather. A thin coat of mink oil, neatsfoot oil, or a product like Obenauf's applied to the heel collar and the flex crease softens the leather before it meets your skin.
- Bend the boot by hand. Fold it forward at the ball, 20 to 30 times. Loosen the flex crease so the boot doesn't fight your stride from step one.
- Wear them around the house for one hour. Just walking on hard floors for an evening tells you exactly where the boot is going to rub. That's where your tape goes tomorrow.
Did you know?
The American Podiatric Medical Association estimates that over 15% of foot injuries in physically demanding jobs involve friction blisters, and the majority of those happen in the first month with a new pair of footwear. Breaking in boots gradually is one of the few interventions with consistent evidence behind it.
The Right Socks and Liner Combos That Actually Prevent Blisters
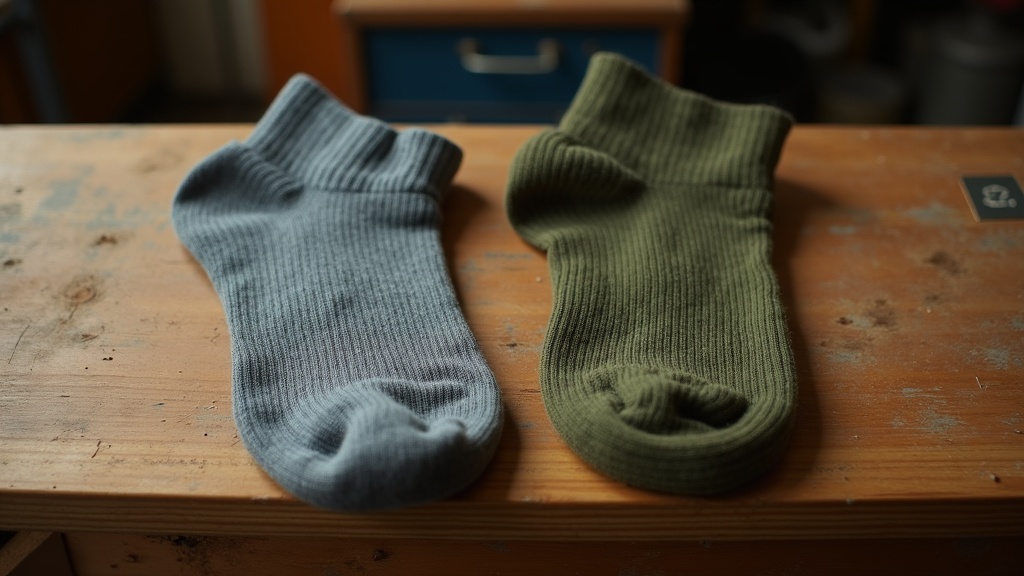
Cotton socks are the enemy. Cotton holds moisture against your skin and stays wet. Wet skin blisters twice as fast as dry skin. Switch to merino wool or a moisture-wicking synthetic, full stop.
What to look for in a work sock
- Padded heel and ball zone, not just a flat knit all the way around
- At least 60% merino, nylon, or Coolmax-type fiber
- Seamless toe construction or a flat toe seam that sits on top, not underneath
- Crew height or above, so the sock doesn't slip down mid-shift
Some workers swear by double-sock systems: a thin liner sock under a thicker work sock. The two layers rub against each other instead of against your skin. It works, particularly for the heel.
Blister Prevention Products Worth Carrying in Your Bag (Tape, Balm, Moleskin)
You don't need a pharmacy. You need three things in your bag or your truck.
The short list
- Leukotape P or KT Tape: The most durable blister prevention tape for work boots. Stays on through sweat. Apply directly to clean, dry skin on the heel before lacing up. Cut a piece slightly rounded at the corners so it doesn't peel at the edges.
- Body Glide or anti-chafe balm: Applied to hot spots before the shift, reduces friction in areas where tape is awkward, like the sides of the toes or the ankle bone.
- Moleskin: Dr. Scholl's moleskin padding goes on the boot's interior, not on your skin, over a seam or panel that's digging in. Cut a donut shape to go around an existing blister without pressing on it.
| Product | Best for | Holds through sweat? | Goes on skin or boot? |
|---|---|---|---|
| Leukotape P | Heel, ankle bone, any high-friction zone | Yes, very well | Skin |
| KT Tape | Larger coverage areas, flexible zones | Yes | Skin |
| Body Glide / anti-chafe balm | Toes, sides of foot, low-pressure rub zones | Moderately | Skin |
| Moleskin padding | Covering an active blister, padding a seam | Yes, if pre-cut correctly | Boot interior or skin |
| Hydrocolloid blister bandage | Blister that already formed, protection while healing | Yes | Skin |
How to Lace New Work Boots to Cut Down on Heel Slip and Hot Spots
Heel slip is the root of most back-of-heel blisters. If your foot moves inside the boot on every step, that heel collar is going to sand the skin right off you.
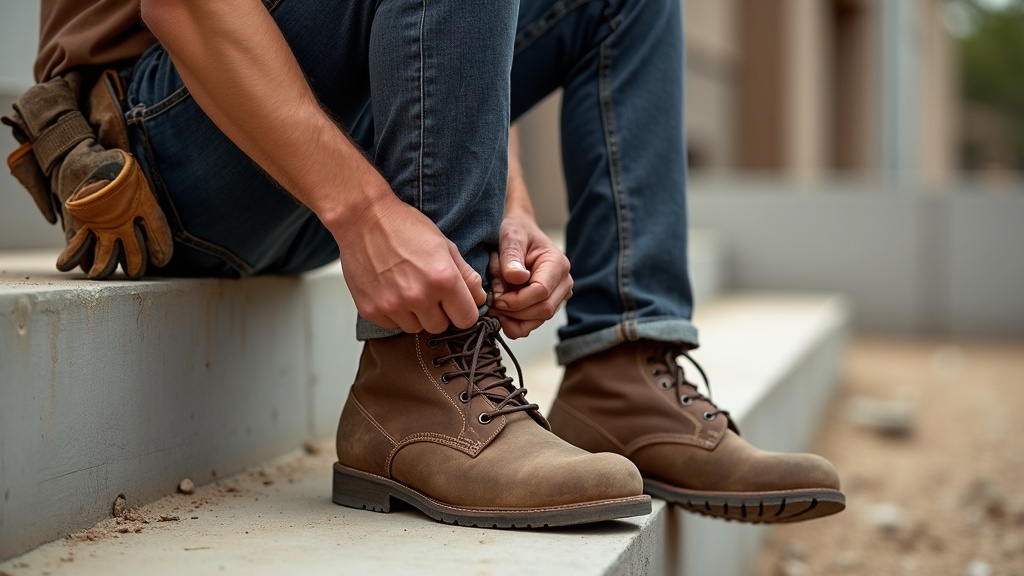
Use the heel lock lacing technique. When you reach the top two eyelets, run the lace straight up on each side to create a loop, then cross through those loops before tying. It cinches the heel down inside the boot and kills most of the slip.
Also: don't lace the top two eyelets tighter than the middle of the boot. A boot that's strangled at the ankle cuts off circulation and creates new pressure points. Snug through the midfoot, firm but not strangling at the top.
A Week-by-Week Break-In Schedule for Workers Who Can't Afford to Baby Their Feet
You've got work to do. Here's a realistic schedule that breaks in the boot without wrecking your feet in the process.
- Days 1 to 2: Wear the new boots for one to two hours around the house or running errands. Note any hot spots. Apply tape to those spots before the next wear.
- Days 3 to 5: Half-days on the job if possible, or alternate with your old boots. Keep conditioner on the heel collar each night.
- Days 6 to 10: Full shifts with tape on known hot spots, double socks if needed. The leather should start flexing more naturally.
- Days 11 to 14: Most workers are comfortable by now. If you're still getting raw spots in the same locations, re-evaluate the fit.
Did you know?
Leather softens significantly faster when it's warm. Wearing new boots on a summer job or in a heated shop accelerates the break-in compared to cold outdoor conditions. In cold weather, the leather stays stiffer longer, so give yourself an extra few days before expecting the boot to feel comfortable.
What to Do When a Blister Hits Mid-Shift
A blister showed up and you've still got six hours left on the clock. Here's the move.
- Don't pop it if it's small. The fluid inside is protecting the tissue underneath. Leave it sealed.
- Cover it immediately. A hydrocolloid bandage is ideal. It cushions, it's waterproof, and it stays put under a sock. Second skin gel pads work the same way.
- Moleskin donut around it if you need extra cushion so the boot doesn't press directly on the bubble.
- If it's large and painful, drain it carefully. Sterilize a needle, pierce the edge (not the top), let it drain, and cover with antibiotic ointment and a bandage before you put the boot back on.
When the Blisters Keep Coming Back, the Boot Probably Doesn't Fit
Two full weeks in and you're still tearing up the same spots every single day. That's the boot telling you something.
Common fit problems that cause recurring blisters:
- Too much length: foot slides forward and back, heel lifts on every step
- Too narrow: sides of the foot and little toe blister constantly
- Heel counter too wide: heel rolls inside the cup instead of sitting in it
- Wrong volume: a low-volume foot in a high-volume boot means the foot swims and rubs everywhere
Get your feet measured properly, ideally late in the day when they're at their largest. A boot that doesn't fit is not a break-in problem. No amount of tape fixes the wrong size.
Your Blister Prevention Checklist Before the First Shift
Run through this before you put those new boots on for real:
- Conditioned the heel collar and flex crease the night before
- Wore them around the house and identified hot spots
- Tape applied to heel and any known hot spot on clean, dry skin
- Moisture-wicking socks on, no cotton
- Heel lock lacing set before tying off
- Moleskin, extra tape, and Body Glide in your bag or truck
- Plan to check feet at the first break and add protection if needed
That's the whole system. It costs maybe ten dollars in supplies and twenty minutes of prep, and it's the difference between grinding through two weeks of misery and being comfortable by day five. Your feet carry you eight, ten, twelve hours a day. Give them the same attention you'd give any other tool on the job.
